How To Install WordPress on Bluehost (step-by-step)
Bluehost is one the most popular web hosting platform where you can host your WordPress website within a few steps. Here, you will get a good server response time and 99% uptime.
you will also get easy to use dashboard where you can manage your website, Cpanel is included in all shared hosting plans and customer support is quite good.
Here are the key Features of Bluehost Hosting:
Installing WordPress in Bluehost is quite easy and you don’t need any technical knowledge for that. So, follow the steps to install WordPress on Bluehost successfully.
For this, you need to purchase the hosting from Bluehost and log in to your admin panel. If you haven’t purchased the hosting yet then you can buy Bluehost and then proceed with the below step.
Steps to Install WordPress on Bluehost
Step-1: Login to your Bluehost panel and click on the domain section.
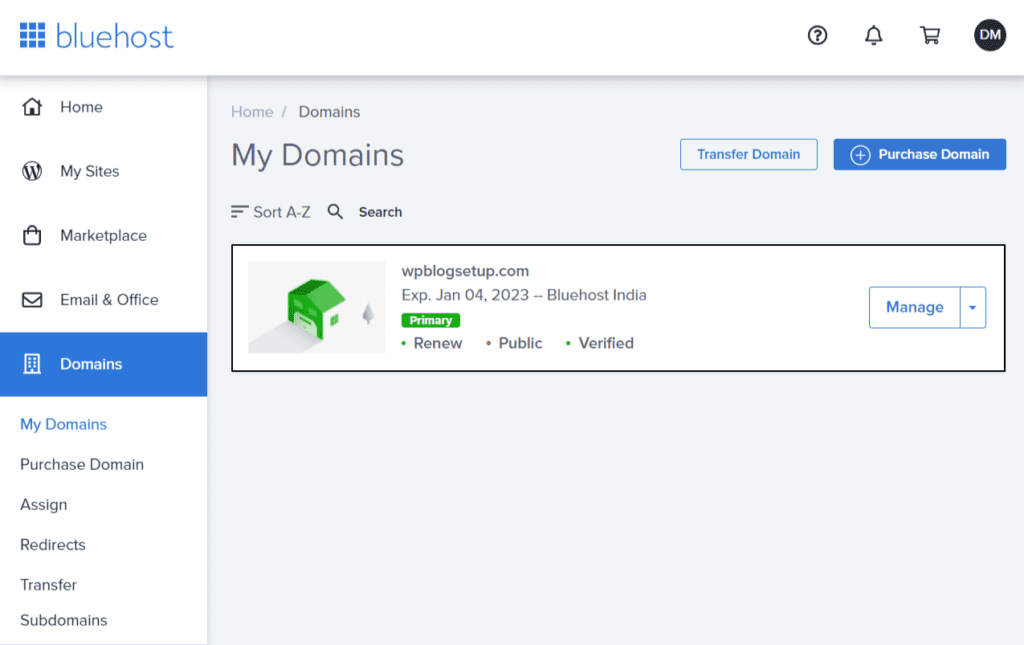
Here, you will see the existing domain, if purchased from Bluehost or you can connect the domain from another registrar like Godaddy, Namecheap by clicking on the assign button.
After that, you need to type the domain name and it will verify that domain and ask you to change the nameserver from the domain registrar.
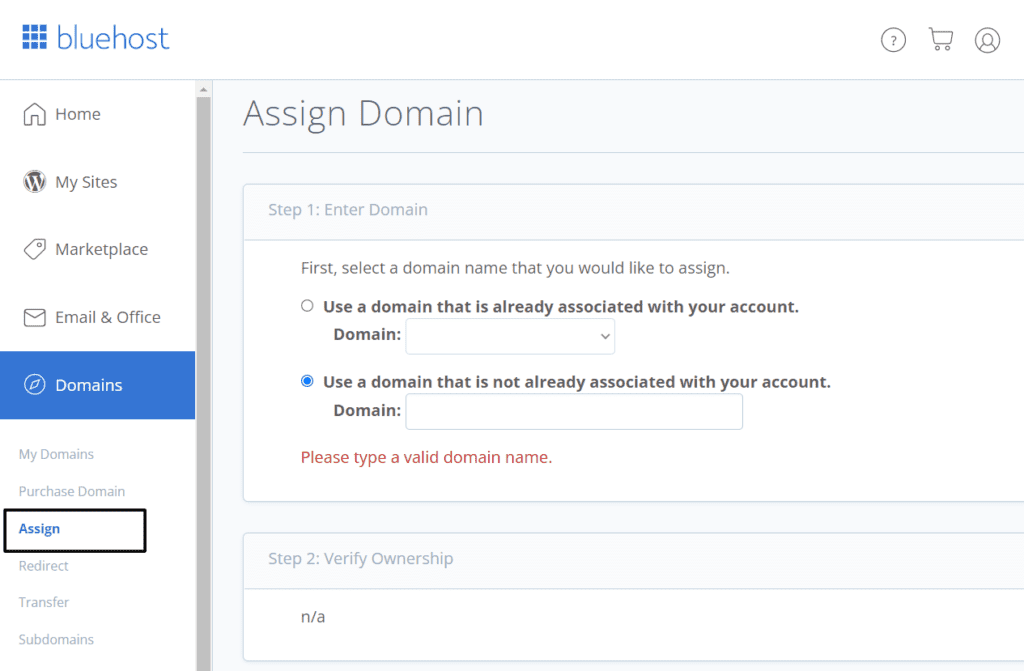
After that click on the “Add on domain” and assign the domain to Bluehost.
You can also transfer the domain to Bluehost or purchase domains directly from the dashboard. You can also install WordPress in subdomains and sub-directory.
Note: if your domain is in Bluehost, then no need to follow the above process.
Step-2: Now again click on the “my sites” option and click on the “Add site” button. Now in the drop-down, you can select the “create new site” option.
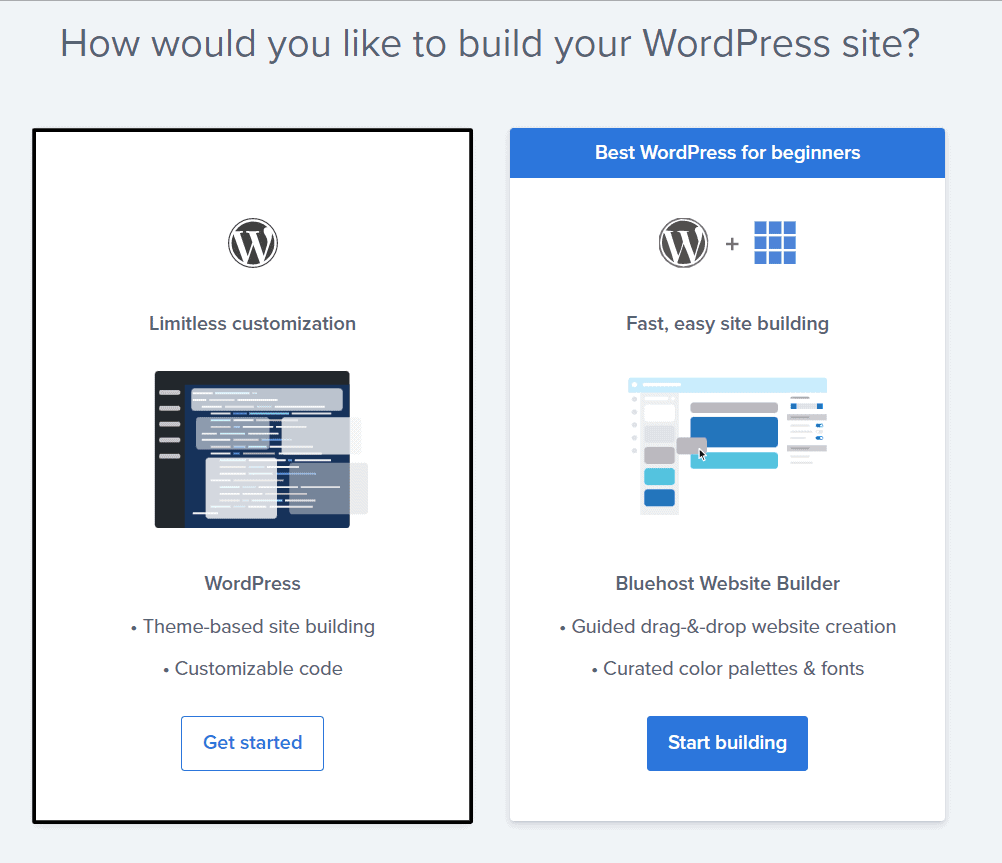
Here, click on the first option and proceed to the next step.
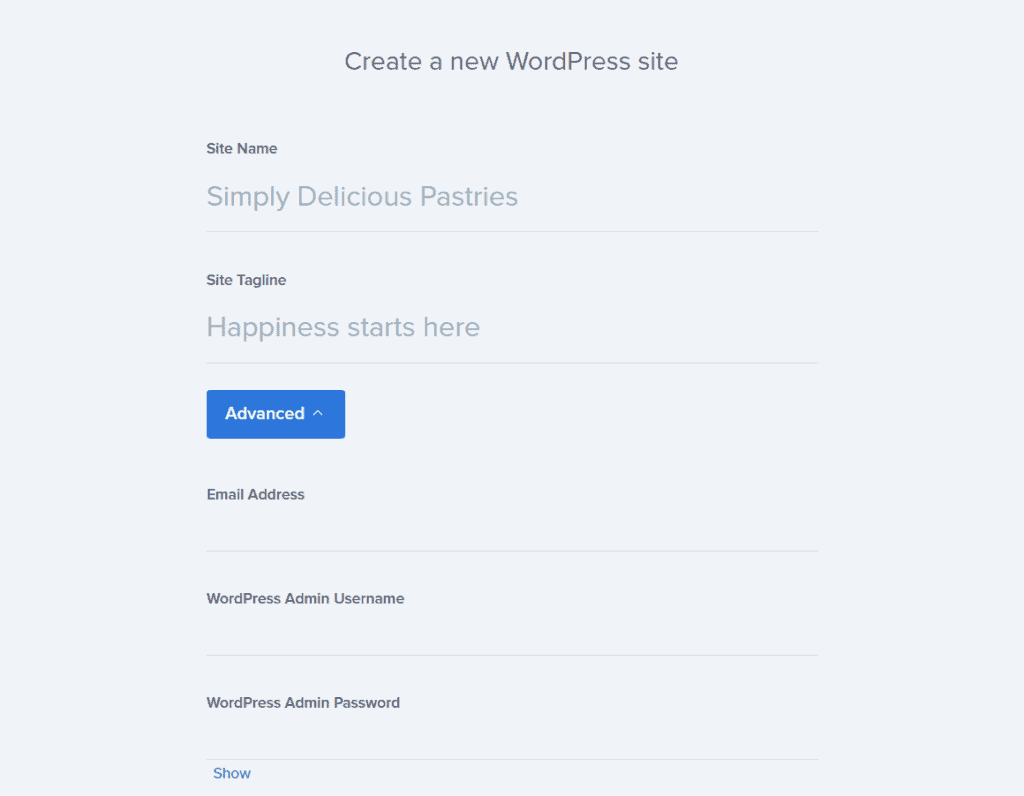
Step-3: Now you have to fill up the site name, tagline, Email address, username, and password and proceed to the next step.
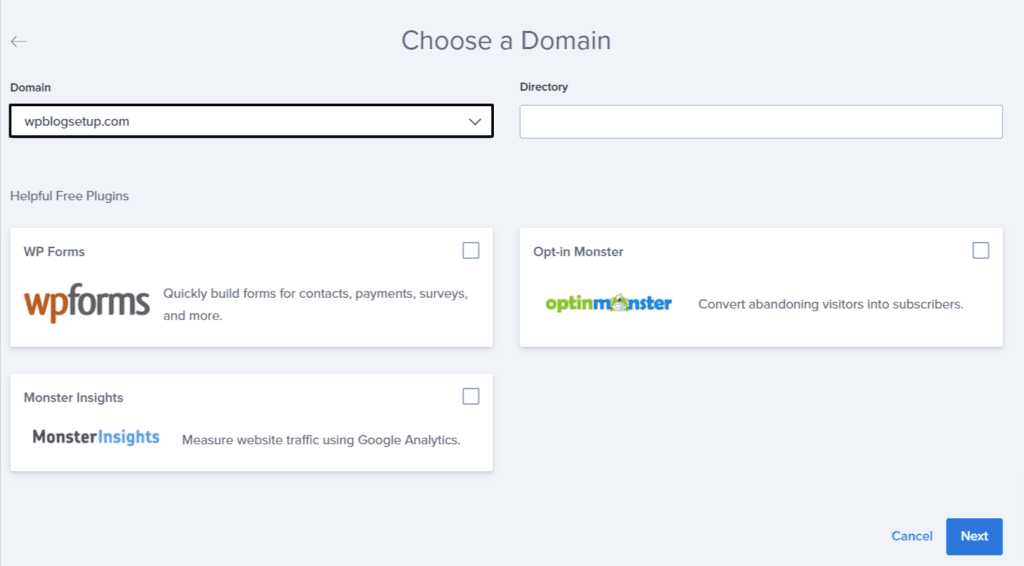
Step-4: Now choose the right domain where you want to install the WordPress and you can uncheck the preinstalled plugin option.
Step-5: Now proceed to the next step and after that, it will take some time to install the WordPress and show you the username password and admin URL.
You can also follow the below Video Tutorial for WordPress installation in Bluehost.
Now you have installed the WordPress website on your Bluehost hosting, it is time to log in to WordPress using the Admin URL.
WordPress admin URL will look like this. https://example.com/wp-admin
Here are some basic settings that you should do after a Fresh installation of WordPress.
Basic settings change after WordPress install
1. Install a Good WordPress theme
By default, WordPress comes with a basic theme that doesn’t have that many features. That’s why you need to install a Good, fast-loading theme on your website.
I recommend you to use themes like Kadence Wp, blocksy, etc which are free to use and come with a lot of advanced features. They are also very responsive and SEO-friendly.
2. Change permalink structure
Permalink is the URL structure of your website and you should change it according to your choice. WordPress gives you a lot of choices how you want your URLs to be like.
For this Go to settings > Permalink and you will see a screen like this.
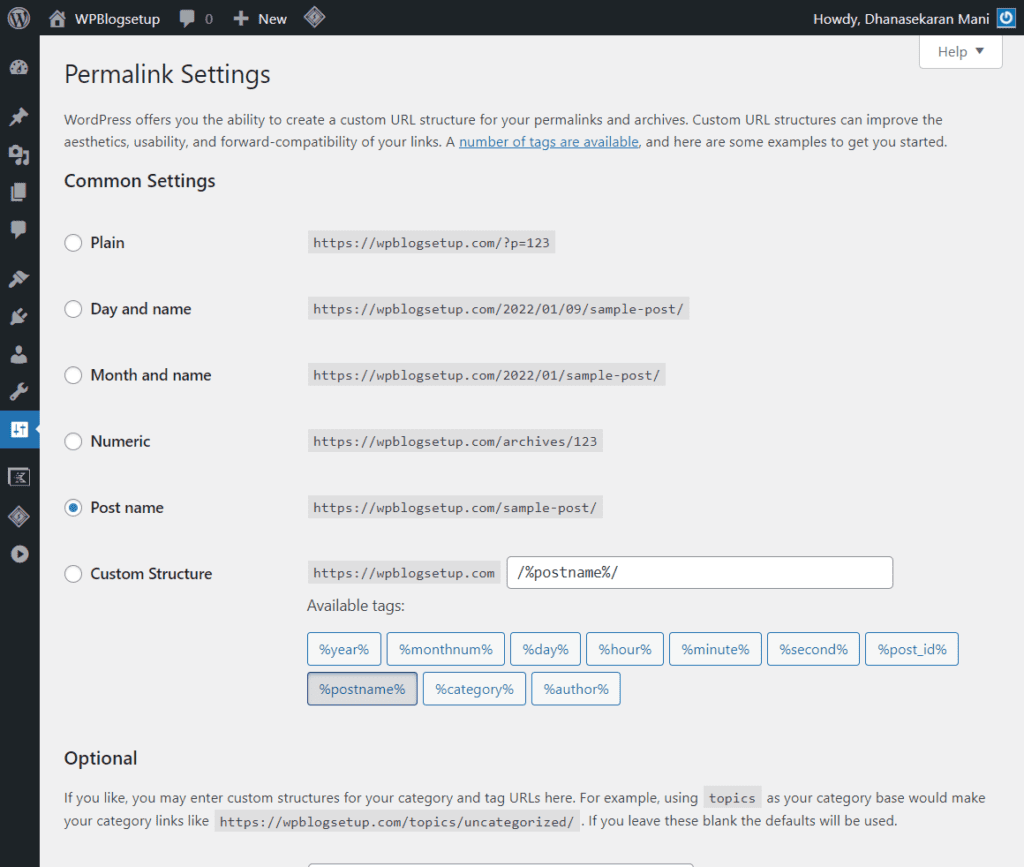
Here you can either select a plain URL, show the month and date. I prefer to choose the post name as it is simple and easy to remember.
3. Install Required Plugins
Now you have to install the required plugin on your WordPress website. I have already covered some of the best WordPress plugins in each category like SEO, page builders, Image optimization, Backup, etc.
- SEO Plugin
- Page builder Plugin
- Image optimization plugin
- Backup plugin
- social media plugin
- caching plugin
- security plugins
Learn More about the 7 Must-have WordPress plugin for Beginners.
4. Customize the theme
After installing the theme, you need to customize the theme settings like Typography, Global color palette, site layout, and more.
For this Go to Appearance > customize and you will see a screen like this.
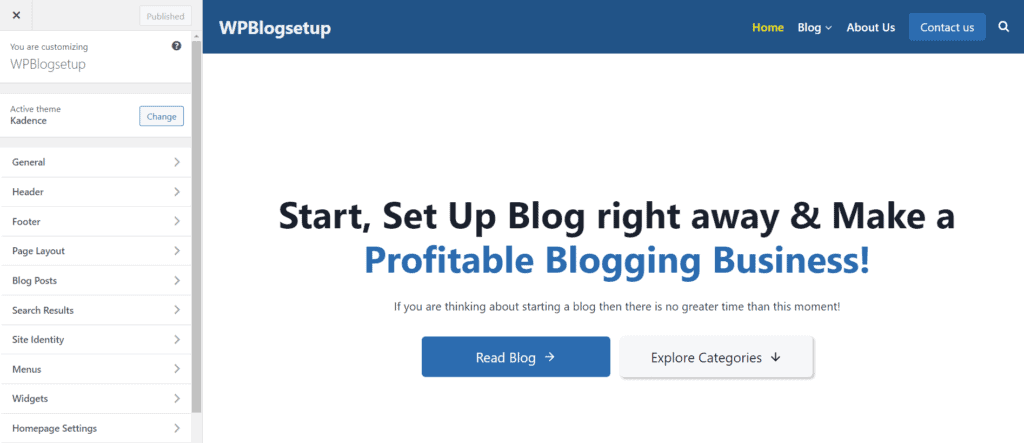
Here, you can change the Header, footer, page layout, and almost everything on the website. You can learn how to customize the WordPress theme here. [ Video Guide ]
You can also build a custom homepage using a page builder plugin like Kadence Blocks or Elementor.
5. Create Required pages
After wordpress installation, you need to create all required pages like About, contact us, Privacy policy, Blog, Affiliate Disclosure, etc.
These are the basic settings that you should do after a fresh wordpress installation. You can also check out the step-by-step process of starting a WordPress website here.
Conclusion
I hope you have successfully installed wordpress on your Bluehost hosting. If you have any doubts or having trouble in some process, do let us know in the comment section.
Read Also: 11 Must-have Chrome Extensions for Bloggers