How to Add a Reading Progress Bar in WordPress
If you want to increase engagement in your website than you should implement a reading Progress Bar to your website. It helps visitors know how much more of the article is left to scroll. so, if you are publishing long articles than it is super helpful for your visitors.
In this Article, I will show you the easy way to add a reading progress bar indicator in WordPress website. By implementing this you will be able to increase your user engagement and dwell time and reduce the Bounce rate.
Many popular blog and websites implements this to keep the user engage on the platform. Some of them use related post section in the article and some of them use videos, infographics for this purpose.
So, let’s check how you can easily add a reading progress indicator in your WordPress blog posts.
Steps to Add a Reading Progress Bar in WordPress
To add reading progress bar in WordPress, follow the below steps.
- Login to your WordPress dashboard and go to plugins and add new.
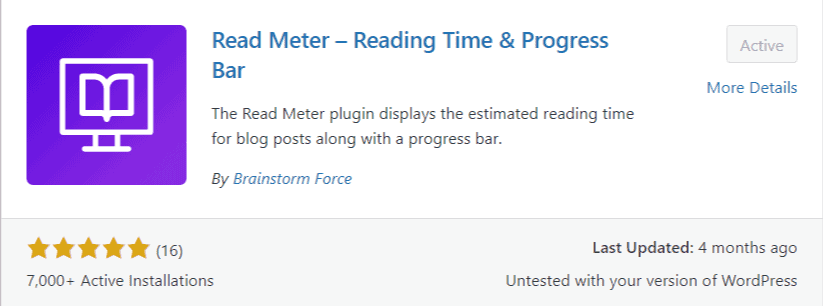
- Now search for “Read Meter – Reading Time & Progress Bar for WordPress” plugin.
- Install and activate this plugin and follow the below steps to setup this plugin.
- After that the reading progress bar will be added to your WordPress website.
Steps to setup this plugin
Now go your WordPress settings and find the read meter option. Now you will see a screen like this.
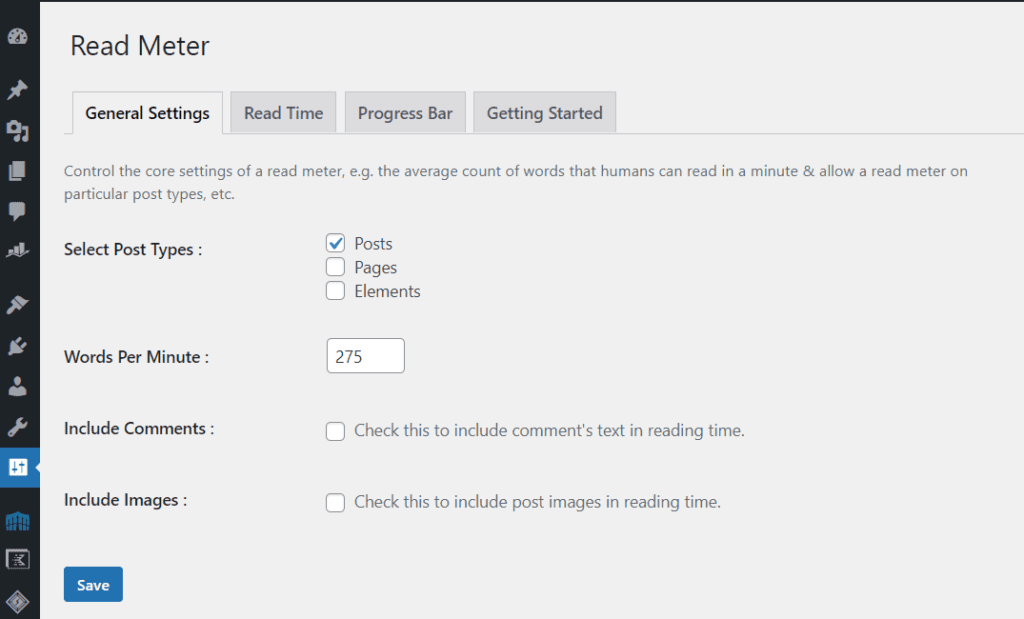
Here, in the General Settings you can choose the location where you want to show the read meter/ progress indicator. Here, you can select post, pages and elements types.
You can also select the words per minute to decide the estimate reading time. You can also add images and comments to decide the reading time or leave it untick.
Now select the Read time option.
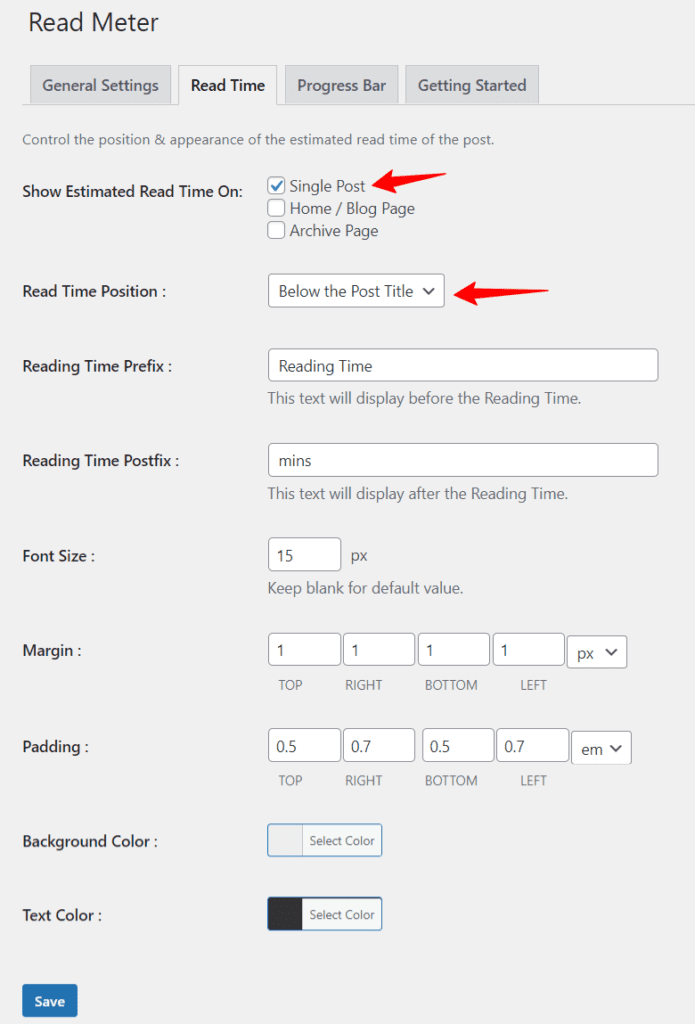
Here, you can select the position of estimate reading time like before content, Before Post Title or after Post Title like that.
Here, you can also adjust the reading time prefix, padding and margin, text color and background color etc.
Now select the Progress bar option from the top.
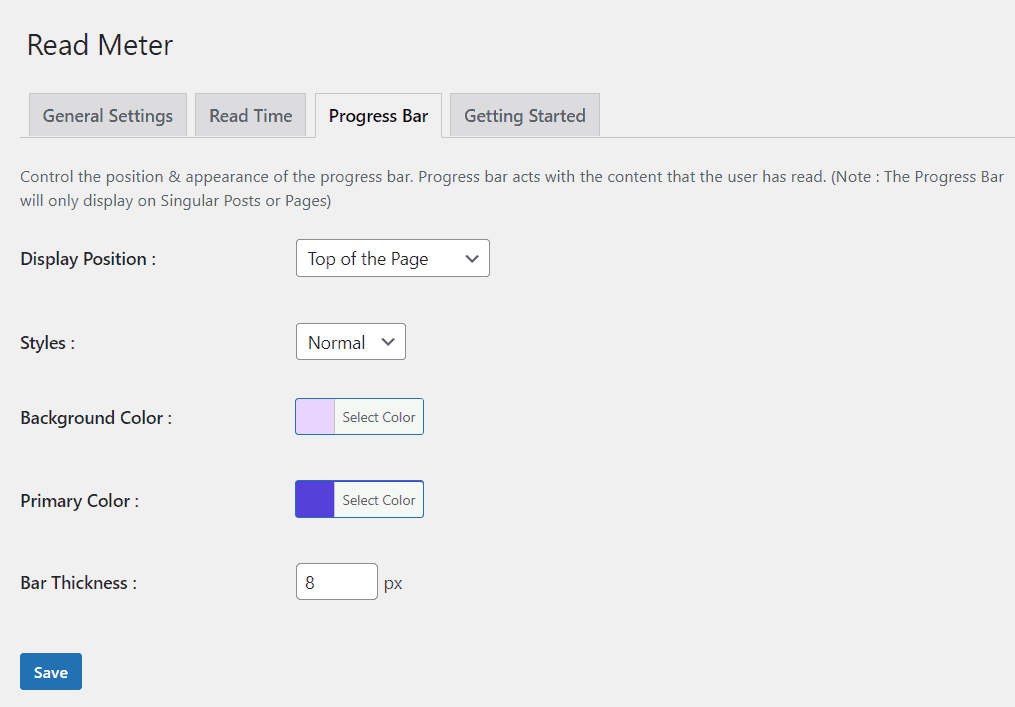
Here, you can select the display position of progress bar and select the color of the bar. You can also adjust the thickness of the bar.
You can also use the shortcode to insert estimate reading time anywhere on the page. Just copy the shortcode and paste it in the shortcode widget.
Don’t forget to save these settings. Now open any blog post and you can notice the reading progress bar showing at the top of the page.
Conclusion
I hope you got the idea on how to add a reading progress bar in WordPress website. You just need to install a simple, lightweight plugin and setup some basic settings. That’s all. So, in this way you can improve the user experience of your website visitors.
Read More

